


-
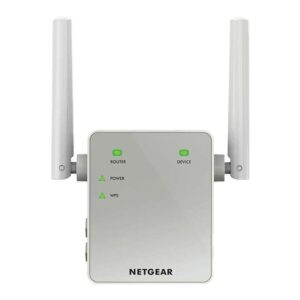
WiFi Range Extenders EX2700
$99.99 Add to cart -
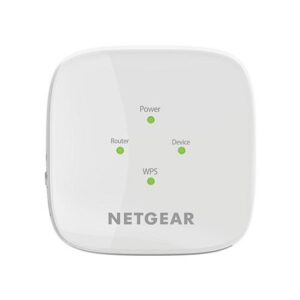
WiFi Range Extenders EX3110
$99.99 Add to cart -
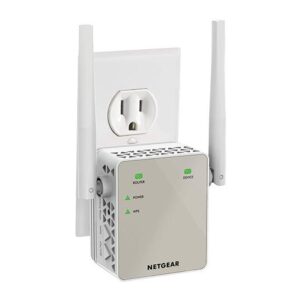
WiFi Range Extenders EX3700
$99.99 Add to cart -
Sale!
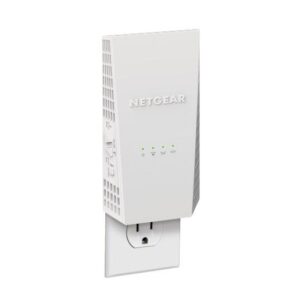
WiFi Range Extenders EX6120
Original price was: $129.99.$99.99Current price is: $99.99. Add to cart -
Sale!
WiFi Range Extenders EX6250
Original price was: $129.99.$99.99Current price is: $99.99. Add to cart -
Sale!
Wifi Range Extenders EAX15
Original price was: $129.99.$99.99Current price is: $99.99. Add to cart